Serving Nationwide, all 50 statesAttic Insulation Help connects you with licensed local companies. We are not a contractor and do not perform the work ourselves.
info@atticinsulationhelp.com
United States

DIY vs professional blown-in insulation: which makes sense?

Thinking about do-it-yourself blown-in insulation? Compare DIY material costs, blower rental, and attic safety against hiring a licensed pro before you start.

DIY vs professional blown-in insulation: which makes sense?
Can you install blown-in insulation yourself?

Yes - blown-in loose-fill is one of the more DIY-friendly insulation types for an accessible attic. The Department of Energy notes it is appropriate for unfinished attic floors, irregular areas, and filling around obstructions. You rent a pneumatic blower, feed in bags of cellulose or fiberglass, and blow it to an even depth.

Home-improvement stores commonly rent the blower, for roughly $100 to $200 per day, though some stores waive the fee when you buy insulation in bulk (HVAC.com, 2026). Budget time to learn the machine and work with a helper feeding bags below - see the full [rental walkthrough](/guides/renting-a-blown-in-insulation-machine/).

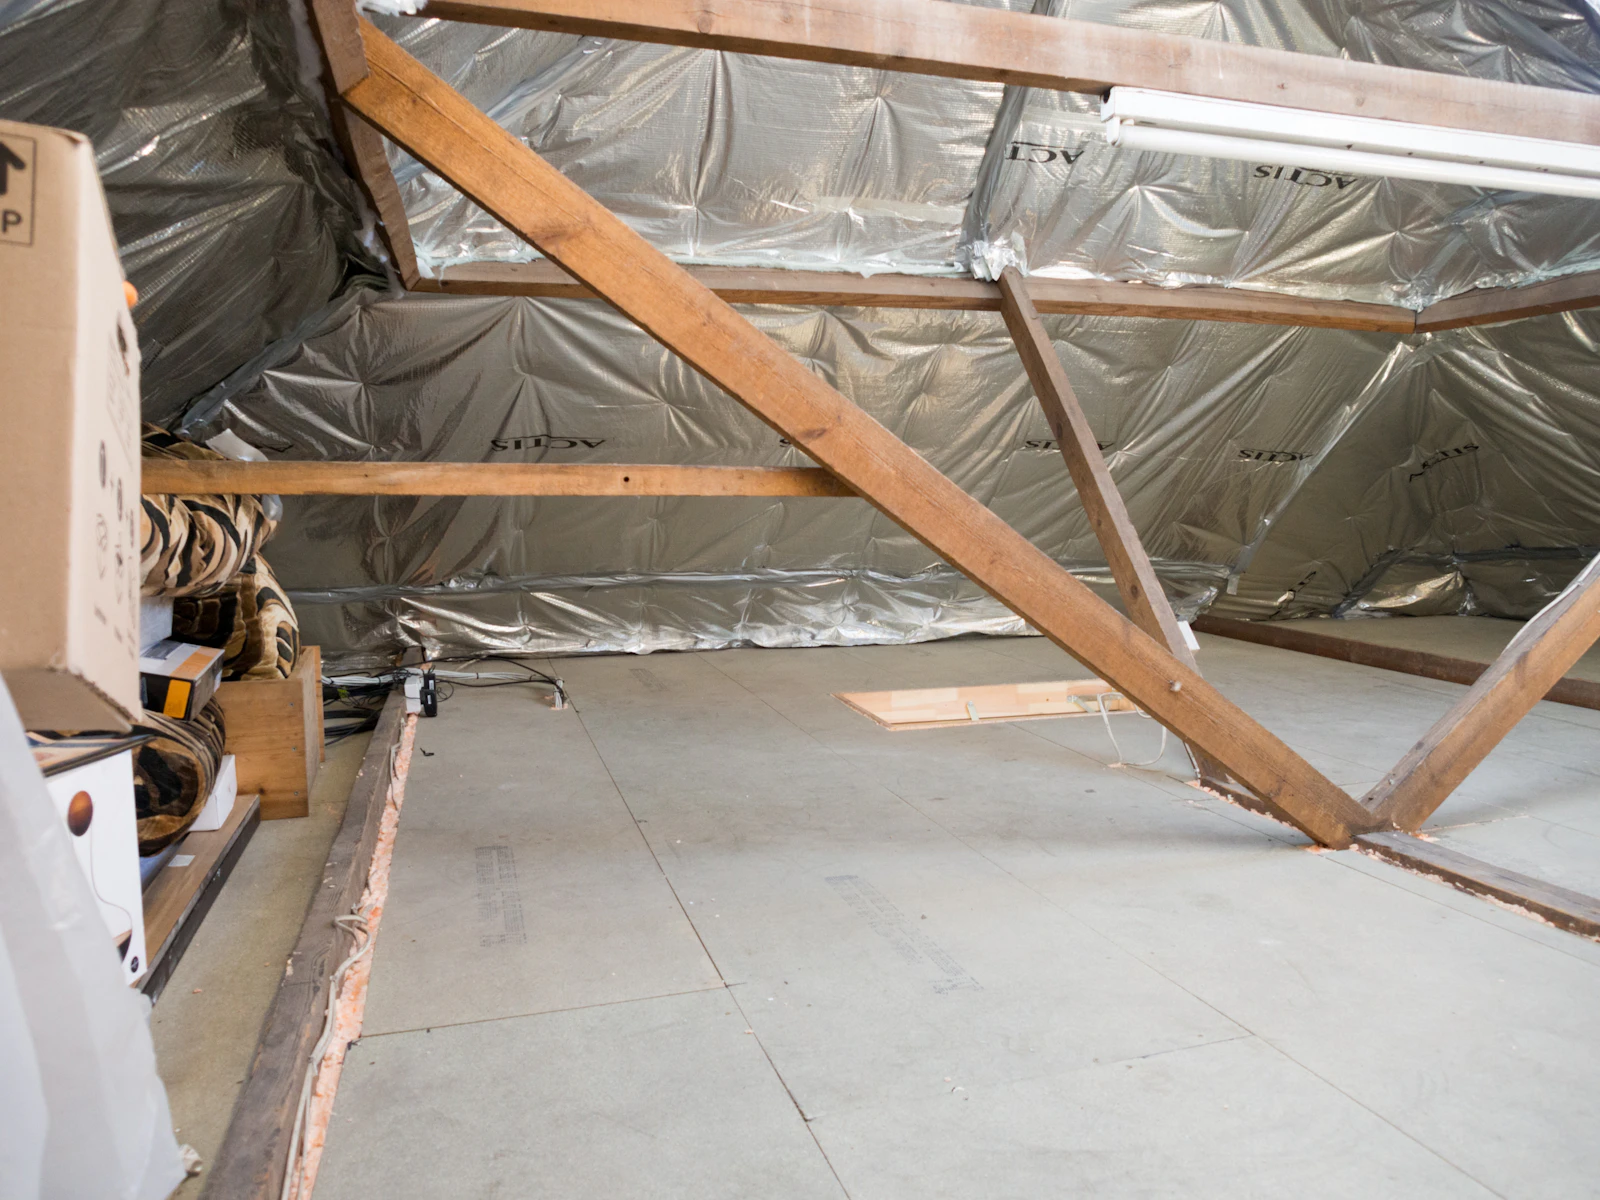
What attic safety hazards should DIYers know about?

Four big ones. Walk only on joists or truss chords, never on the drywall, to avoid falling through the ceiling. Keep loose-fill at least three inches from non-IC recessed "can" lights. Watch for hot furnace flues, and stop if you find pre-1930 knob-and-tube wiring, which can ignite in contact with insulation.

For non-IC recessed lights, ENERGY STAR advises building a sheet-metal or wire-mesh barrier so loose-fill cannot pack against the housing - fixtures labeled IC (insulation contact) may be covered directly. Keep insulation clear of hot flues: about 1 inch from metal flues and 2 inches from masonry chimneys. See [recessed can lights and insulation clearance](/guides/recessed-can-lights-insulation-clearance/) for the full rule.
What attic safety hazards should DIYers know about?

DIY vs professional: how do they compare?

It comes down to cost, equipment, and risk. DIY means buying loose-fill and renting a blower - a professional adds labor but brings experience with air sealing, safe clearances, and hard spots like walls.

Figures as cited in Sources below
FactorDo-it-yourselfLicensed professional
Best suited toOpen, accessible attic floor; topping upWalls, cathedral ceilings, remove-and-replace, problem attics
Material cost~$0.40-$1.10/sq ft fiberglass; ~$0.60-$2.30/sq ft celluloseRolled into the installed price
Installed costMaterials + blower rental (you supply labor)~$1.00-$2.80/sq ft; ~$900-$3,600 typical project
EquipmentRent a blower ~$100-$200/dayContractor brings the pneumatic equipment
Air sealing firstYou do it; EPA recommends sealing before insulatingOften quoted as part of the job
Old insulation removalAdds ~$1-$2/sq ft plus disposalCan be included in the quote

When should you hire a professional instead?

Hire a pro when the job moves beyond an open attic floor. Finished walls need pneumatic equipment and know-how - the Department of Energy calls blown-in the most economical way to fill closed wall cavities. Also call one for insulation removal, signs of moisture or mold, poor ventilation, or any knob-and-tube wiring. A licensed company also carries the ladders, dense-pack gear, and disposal setup that make removal-and-replacement manageable.

Sources

5 cited
  1. Blown-in insulation as a DIY-suited material for open attic floors: U.S. Department of Energy, Insulation Fact Sheet, DOE/CE-0180, 2008 (checked 2026-08-19).
  2. Blower rental cost and material coverage: HVAC.com, How Much Does Blown-In Insulation Cost?, 2026 (checked 2026-08-19).
  3. Installed professional pricing and removal cost: HomeGuide, Blown-In Insulation Cost, 2026 (checked 2026-08-19).
  4. Recessed light clearance and air-sealing guidance: ENERGY STAR, Attic Insulation Project; ENERGY STAR, Attic Air Sealing Project (checked 2026-08-19).
  5. Non-IC recessed lighting clearance rule: U.S. Department of Energy, Building America Solution Center, Recessed Lighting Code Compliance Brief, 2015 IRC (checked 2026-08-19).
How it works

How blown-in insulation is actually installed

Four steps, done in order. The Department of Energy is explicit that skipping the air-sealing step is the most common way a new insulation job still leaves an attic underperforming.

  1. 1

    Air seal first

    The EPA recommends sealing attic-floor penetrations before insulating, because loose-fill does not stop air moving through gaps around wiring, pipes and fixtures.

  2. 2

    Add baffles and depth markers

    Rafter baffles keep blown material off the eaves where it could get wet, and depth rulers mark the target R-value before the blower starts.

  3. 3

    Blow to depth

    A pneumatic machine feeds loose fiberglass or cellulose over the attic floor, covering the tops of the joists so heat cannot bypass the insulation.

  4. 4

    Verify and clean up

    The settled depth gets checked against the target R-value for your climate zone, then tools and debris are cleared.

How we work

What this site will and will not do

We explain the R-value target and the real cost drivers first, and we do not sell you the installation - which is why we can say plainly when topping up beats a full replacement.

01

R-value before a quote

ENERGY STAR recommends R-30 to R-60 depending on your climate zone. Knowing your target before you call means you can hold every bid to the same number.

02

Air sealing first, always

The Department of Energy is explicit that insulation slows heat flow but does not stop air leaks - sealing gaps first is what makes the insulation you pay for actually perform.

03

We are not the installer

We do not install anything ourselves, so we have nothing to gain from steering you toward the bigger job. Licensed local companies do the work and quote it themselves.

04

Nothing we cannot source

Every figure on this site traces to a named, dated source - HomeAdvisor, the DOE, ENERGY STAR, the EPA or the FTC. Where we have not sourced a number, we say so instead of guessing.

Questions

Frequently asked

The questions people actually type before calling a company.

Do you have to remove old insulation before blowing in more?

Not usually. You can add blown-in insulation on top of sound, dry existing insulation. Remove it first if it is wet, moldy, rodent-damaged, or compressed. Removal and disposal typically add about $1 to $2 per square foot (HomeGuide, 2026).

How much blown-in insulation do I need?

ENERGY STAR recommends most U.S. attics reach about R-38, roughly 10 to 14 inches. Bag coverage depends on the target R-value - a bag of blown fiberglass covers about 31-77 sq ft and cellulose about 13-23 sq ft (HVAC.com, 2026).

Can I rent a blowing machine, and is it free?

Home-improvement stores commonly rent pneumatic blowers, and some waive the fee when you buy insulation in bulk; otherwise expect about $100-$200 per day.

Do recessed lights limit where I can add insulation?

Yes. Keep insulation at least three inches from recessed can lights unless they are labeled IC. For non-IC fixtures, build a sheet-metal or wire-mesh barrier so loose-fill cannot pack against the housing.

Get matched with a licensed local insulation company

Request a QuoteEmail Us